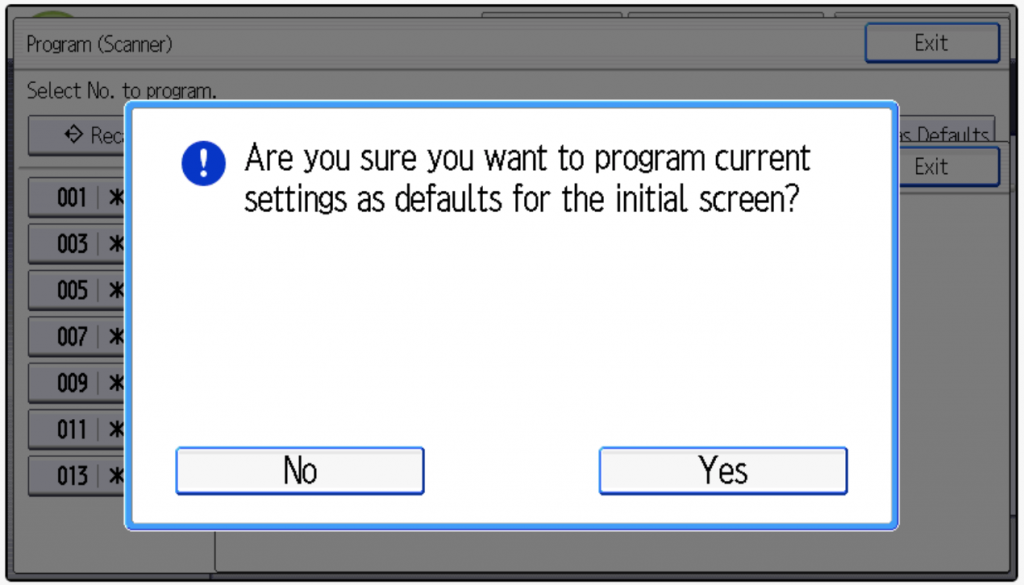
Saving current settings as a default - Android Screen
Sometimes the default settings on the copier or scanner from Ricoh is not what you require as a user.
Fortunately, changing the scanner settings and copier settings is easy, and you can even save the settings for future users, either as the ‘new’ default settings or as a one-touch job recall.
Once you have chosen your settings, you can make them the default by pressing the programme button (just to the right of the home button at the bottom of the screen) and choosing ‘Set Current Setting as Default’.
If you have the Ricoh screen with physical buttons rather than the android screen, you can change the settings as follows:
Change the settings using the menu choices on the left of the screen (scan settings, original feed type, send file type/name etc.
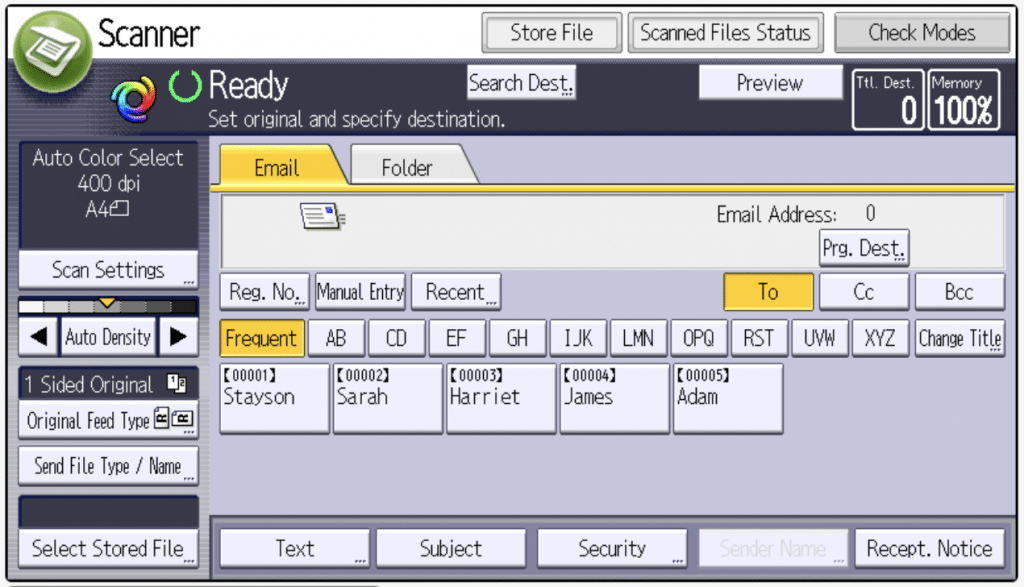
Once you have chosen you settings, you can set these as the default by choosing the programme button – this appears above the number 2 button and has a diamond with an inward arrow on it.

Note – If you have the ‘Scanner Classic’ on the android screen, the programme icon mentioned above is replaced by the ‘Recall/Programme/Change Program’ option in the bottom left of the screen
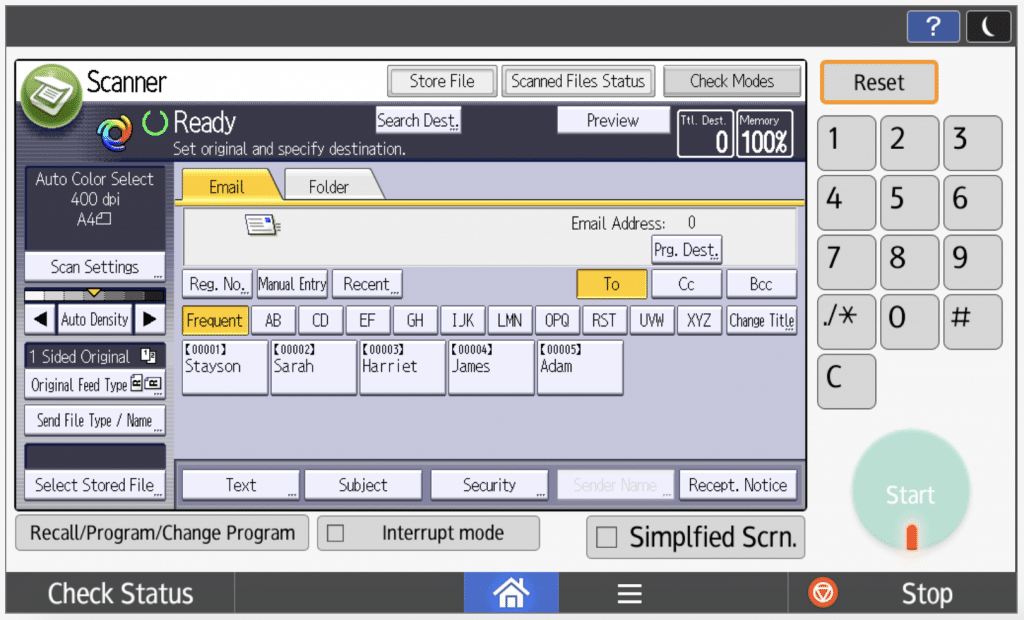
Once in the programme menu, you can choose ‘Programme as Defaults’ and then ‘Programme’ (or restore the factory defaults). This will now set the defaults for every time you scan.
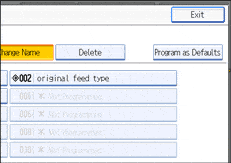
Confirm the choice by selecting ‘Programme’
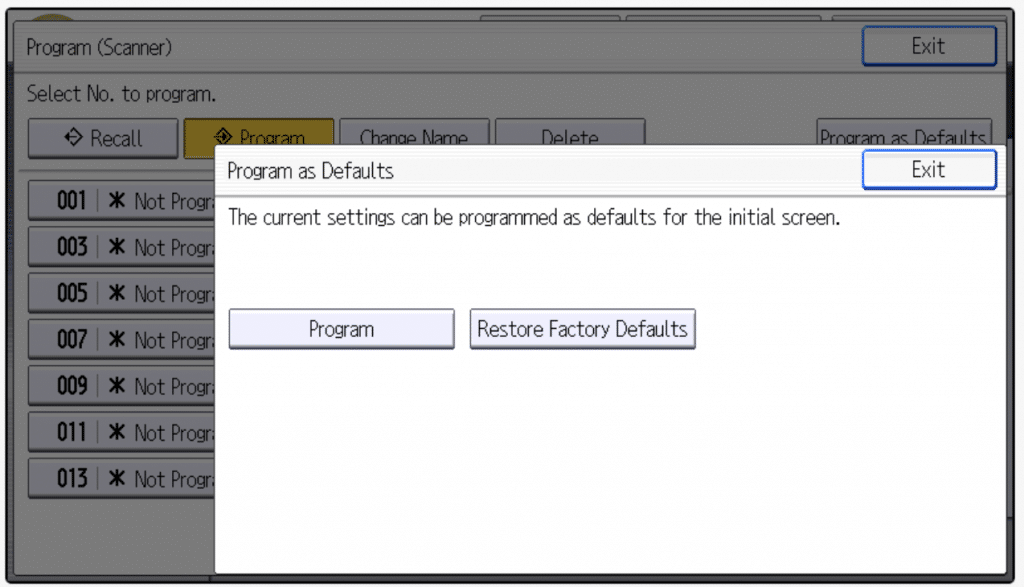
and ‘Yes’. After pressing yes, ‘Programmed’ will appear for a couple of seconds, and then the screen will return to the home scanner screen and the programmed defaults should be automatically chosen as the new defaults.
