How to Scan to a USB Memory Stick
For large files, or if you have a problem with your internet or email connections, Scanning on to a USB memory stick or SD Card can be an easy way to capture the information you need. Almost all Ricoh photocopiers can both Scan to USB drive and Scan to SD Card using the USB and SD Card slots on the side of the photocopiers control panel.
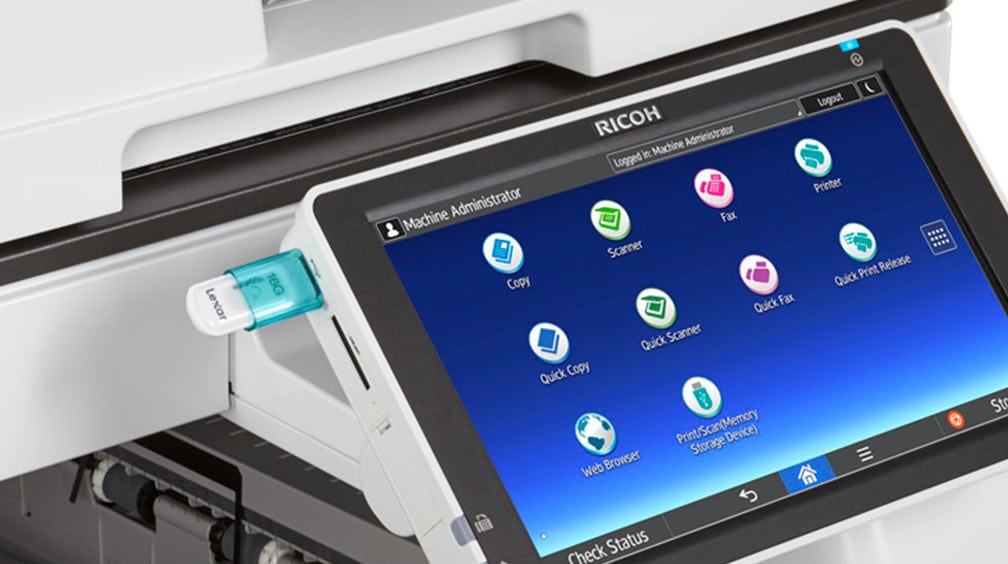
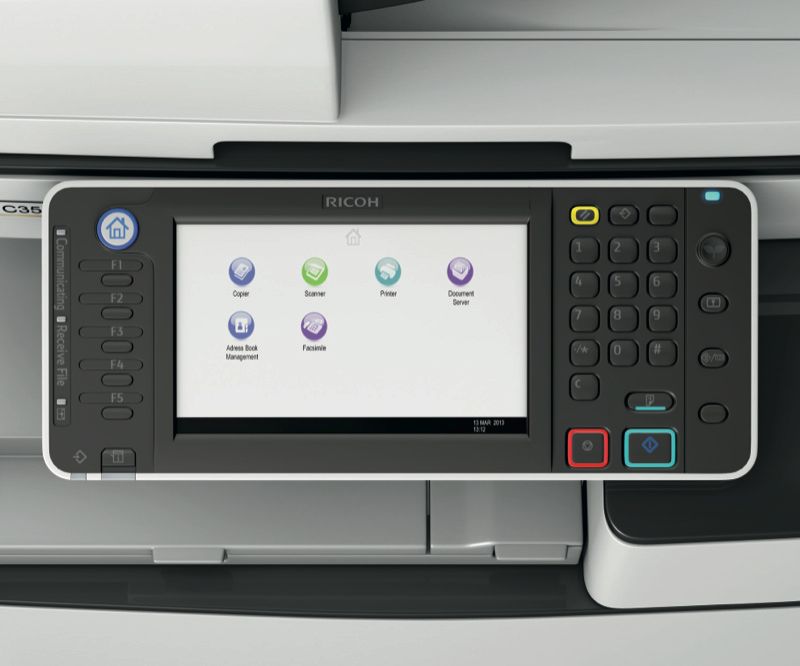
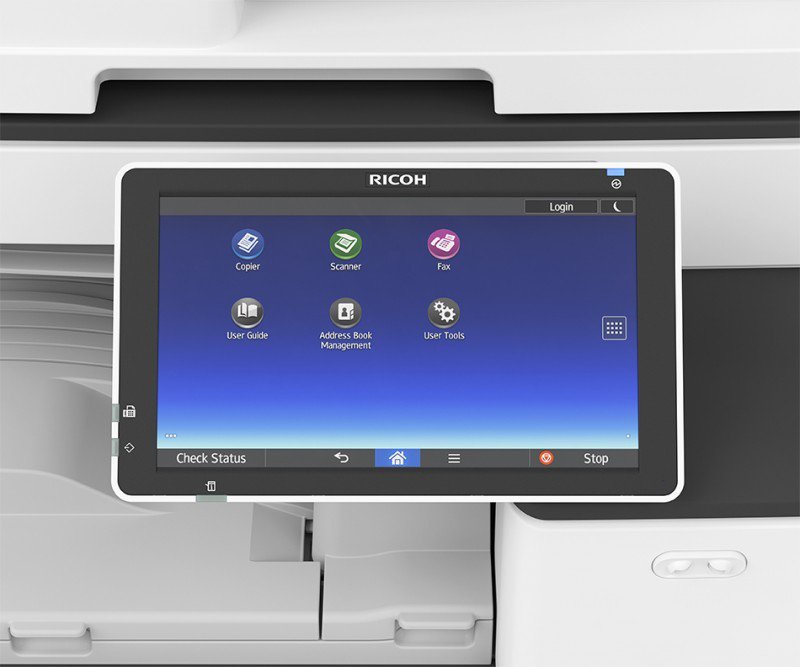
Depending on which model of Ricoh photocopier you have will determine the correct process, click on the image below that best resembles your photocopiers control panel:
First you will need a USB Storage Device (USB Memory Stick). This should be formatted for windows NTFS or FAT, but dont worry, as most memory sticks come pre-formatted and you should be able to plug it straight into the copier and it be recognised.
Scan to USB using the classic control panel
To Scan to USB using the classic control panel, use the following steps:
- Insert the USB or SD Card storage device into the side of the control panel.
- Select the ‘Scanner’ icon from the screen.
- Select ‘Store File’.
- Ensure [Store to Memory Device] is highlighted.
- Press the green [Start] key and the document will be scanned.
- Remove the USB device when you the message ‘Storing Complete The memory storage device can be removed safely.’
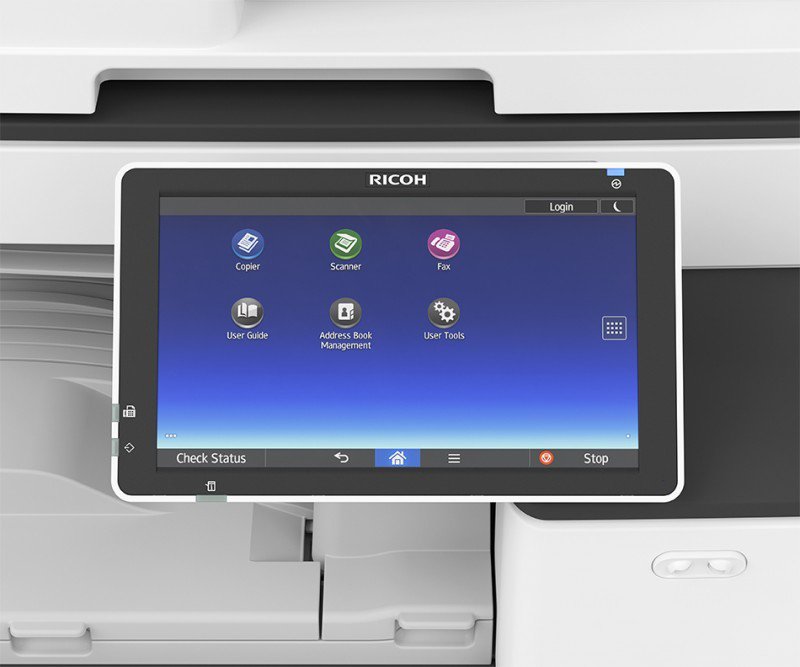
Scan to USB using the Android control panel
To Scan to USB using the android control panel, use the following steps:
- Insert the USB or SD Card storage device into the side of the control panel.
- Select the ‘Print/Scan (memory storage device)’ icon from the screen (if you are using ‘Scanner Classic’ please follow the above steps for the Classic Control Panel). If you cannot see the
- Select ‘Scan to Storage Device’.
- Ensure [USB] is highlighted.
- Choose the folder you want to scan to (or leave it as the main folder)
- Press the green [Start] key and the document will be scanned.
