Downloading A Ricoh Printer Driver (Windows)
This step-by-step guide will take you through the best way to download a Ricoh Printer driver onto a Windows computer. The first steps will talk you through navigating the Ricoh Driver website and downloading the appropriate Ricoh Driver for your Ricoh Printer / Ricoh Multifunctional Printer. In this guide, we will be using the Ricoh MPC3504 as an example. Please follow this guide using your own Ricoh printer model.
STEP 1 – Where to download the driver from
Download the driver, go to https://www.inception.co.uk/drivers and scroll down the page to find the driver that corresponds to your printer.
STEP 2 – Run the download
Choose ‘Run’ if you are adding the printer as a single process. If you want to save the file for use later or sharing with another computer, choose ‘Save’

STEP 3 - Choose where to save the extracted files
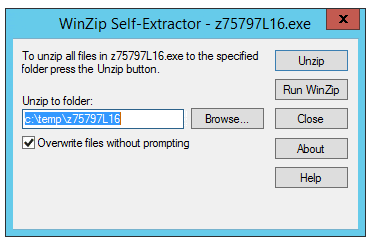
The file will run and you will get an unzip screen. Make a note where the folder is that the printer files will be unzipped to. You can choose where to save the files by clicking “Browse”. Click “Unzip” – make a note of where the files have been unzipped to, you will need this later.

STEP 4 - Extraction of the files
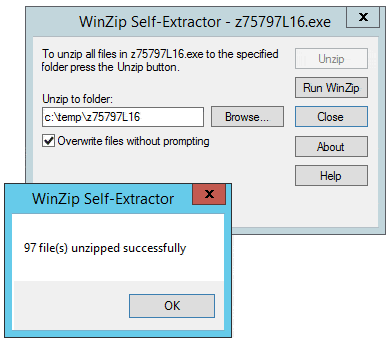
Winzip will extract the files to your chosen location. Click “OK” to complete the process and then “Close” to close Winzip.

STEP 5 - Run the setup file
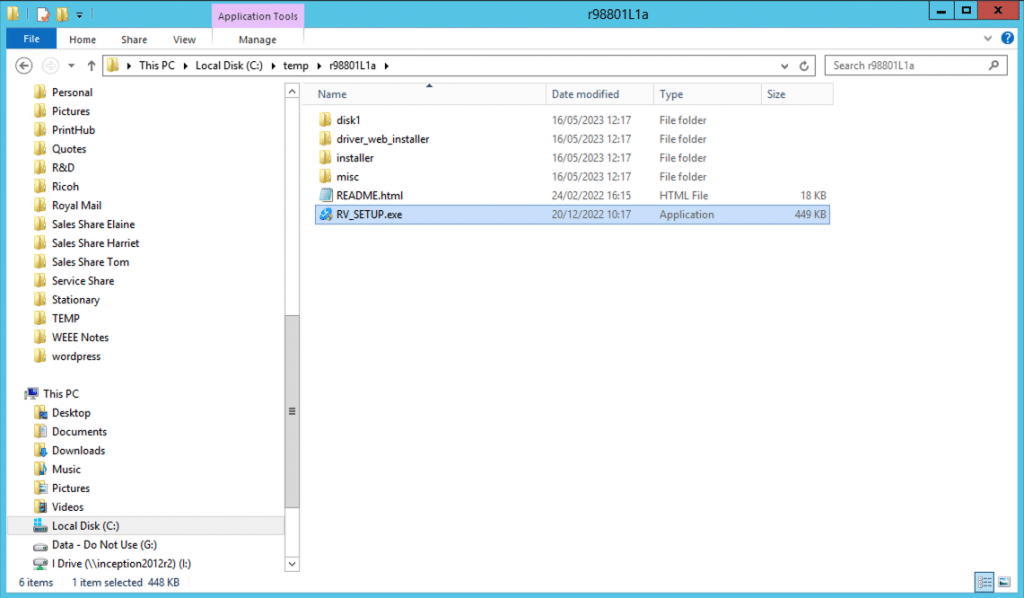
Browse to the folder you have unzipped the files to, and run the ‘RV-Setup.exe’ file

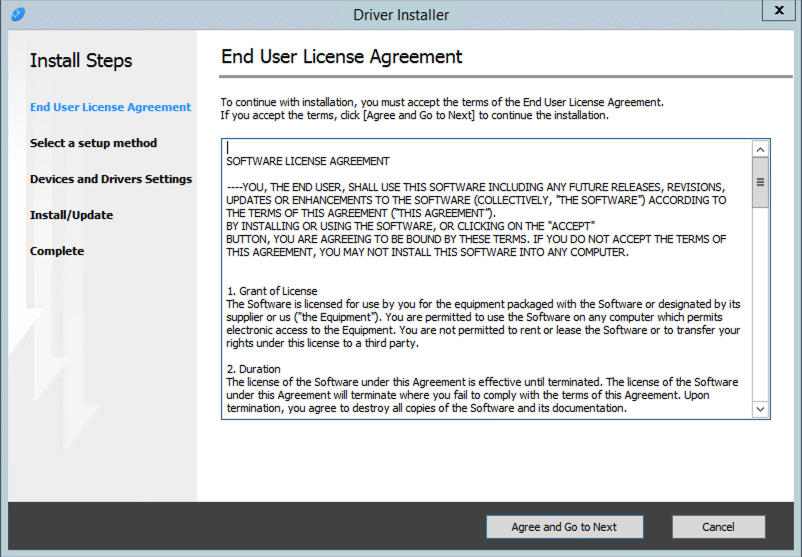
STEP 6 - Follow the setup file prompts
Follow the on-screen prompts to install a network printer.

